Sweden
Loading...
India
Loading...
esyflow Docker image running instructure
Step 1: Start Docker desktop
Step 2: Login to the Github Container registy:
- Create a folder for holding the docker related files
- Inside that folder, run the following command
- Here, USERNAME - is the github user name
- And TOKEN - you can get the access token from your github developer options.
- github.com -> settings -> developer settings
Step 3: Creating a env
- Inside your current working directory, create a file named ".env"
- Paste the below content in that file
NEO4J_URI=neo4j+s://9c3a773c.databases.neo4j.io
NEO4J_USERNAME=neo4j
NEO4J_PASSWORD=GyleJpoJowyhN0pxaRw_j6vJsvq2gyrONJ9aryYmExY
AURA_INSTANCEID=9c3a773c
AURA_INSTANCENAME=Instance01

NEXTAUTH_SECRET=Q2dh6Vk6Xy41ZHyOLgWfn3nOV/6d9XJTwApRep87Cp8=

NEXTAUTH_URL=http://localhost:3000/

GITHUB_CLIENT_ID=Ov23liR1qTuokxW9JIHu
GITHUB_CLIENT_SECRET=a1fcdb9d860028a4d066ed763f54ce4bffeeb82b

GOOGLE_CLIENT_ID=858757748894-lbfv0af0g0a9qiedj5rune15u4rvqli1.apps.googleusercontent.com
GOOGLE_CLIENT_SECRET=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

NEXT_PUBLIC_SUPABASE_URL=https://wnbwxoopzgtrpwrdcrlt.supabase.co
NEXT_PUBLIC_SUPABASE_ANON_KEY=eyJhbGciOiJIUzI1NiIsInR5cCI6IkpXVCJ9.eyJpc3MiOiJzdXBhYmFzZSIsInJlZiI6InduYnd4b29wemd0cnB3cmRjcmx0Iiwicm9sZSI6ImFub24iLCJpYXQiOjE3Mzg3NzQ5OTYsImV4cCI6MjA1NDM1MDk5Nn0.WOfbZvxN0iCbRTTNms8Qtgi6xnyuHGcmCTK4-nfh1oA
SUPABASE_SERVICE_ROLE_KEY=eyJhbGciOiJIUzI1NiIsInR5cCI6IkpXVCJ9.eyJpc3MiOiJzdXBhYmFzZSIsInJlZiI6InduYnd4b29wemd0cnB3cmRjcmx0Iiwicm9sZSI6InNlcnZpY2Vfcm9sZSIsImlhdCI6MTczODc3NDk5NiwiZXhwIjoyMDU0MzUwOTk2fQ.bpB3AWudV08Mk0FpJyl5eNpHuQKhEYBjjx9kxRUl4cg

GOOGLE_GENERATIVE_AI_API_KEY=AIzaSyCYtKsIp1BFFIIq3WEqDLK562-ClzZmAb0
POSTGRES_CONNECTION_STRING=postgresql://postgres.wnbwxoopzgtrpwrdcrlt:simtestlab2022@aws-0-ap-south-1.pooler.supabase.com:6543/postgres
# NEXT_PUBLIC_MASTRA_BASE_URL=https://eysflow-agents.vercel.app/
NEXT_PUBLIC_MASTRA_BASE_URL=http://localhost:4111/
Step 4: Creating docker compose:
- Inside your current directory create a file named "docker-compose.yml"
- Paste the below content to the file
services:
  postgres:
    image: postgres:15
    container_name: postgres_db
    restart: unless-stopped
    environment:
      POSTGRES_USER: admin
      POSTGRES_PASSWORD: admin123
      POSTGRES_DB: esysflow_db
    ports:
      - "5432:5432"
    volumes:
      - pg_data:/var/lib/postgresql/data
    networks:
      - pg_network
    healthcheck:
      test: ["CMD-SHELL", "pg_isready -U admin"]
      interval: 10s
      timeout: 5s
      retries: 5

  pgadmin:
    image: dpage/pgadmin4:7
    container_name: pgadmin
    restart: unless-stopped
    environment:
      PGADMIN_DEFAULT_EMAIL: admin@esysflow.com
      PGADMIN_DEFAULT_PASSWORD: admin123
    ports:
      - "9090:80"
    volumes:
      - pgadmin_data:/var/lib/pgadmin
    depends_on:
      postgres:
        condition: service_healthy
    networks:
      - pg_network

  app:
    image: ghcr.io/simtestlab/esysflow_backend:latest
    container_name: esysflow_app
    restart: unless-stopped
    env_file:
      - .env
    environment:
      DATABASE_URL: postgresql://${POSTGRES_USER}:${POSTGRES_PASSWORD}@${POSTGRES_HOST}:5432/${POSTGRES_DB}
      SECRET_KEY: ${SECRET_KEY}
      ACCESS_TOKEN_EXPIRE_MINUTES: ${ACCESS_TOKEN_EXPIRE_MINUTES}
      ALGORITHM: ${ALGORITHM}
    ports:
      - "8000:8000"
    depends_on:
      postgres:
        condition: service_healthy
    networks:
      - pg_network

  frontend:
    image: ghcr.io/simtestlab/esysflow:latest
    container_name: esysflow_frontend
    restart: unless-stopped
    env_file:
      - .env
    ports:
      - "3000:3000"
    networks:
      - pg_network
    depends_on:
      app:
        condition: service_started

volumes:
  pg_data:
    name: pg_data
  pgadmin_data:
    name: pgadmin_data

networks:
  pg_network:
    driver: bridge
- Use the following command to run the docker image
Note: This process may take upto 5 to 10 minutes on frontend. Kindly wait until.
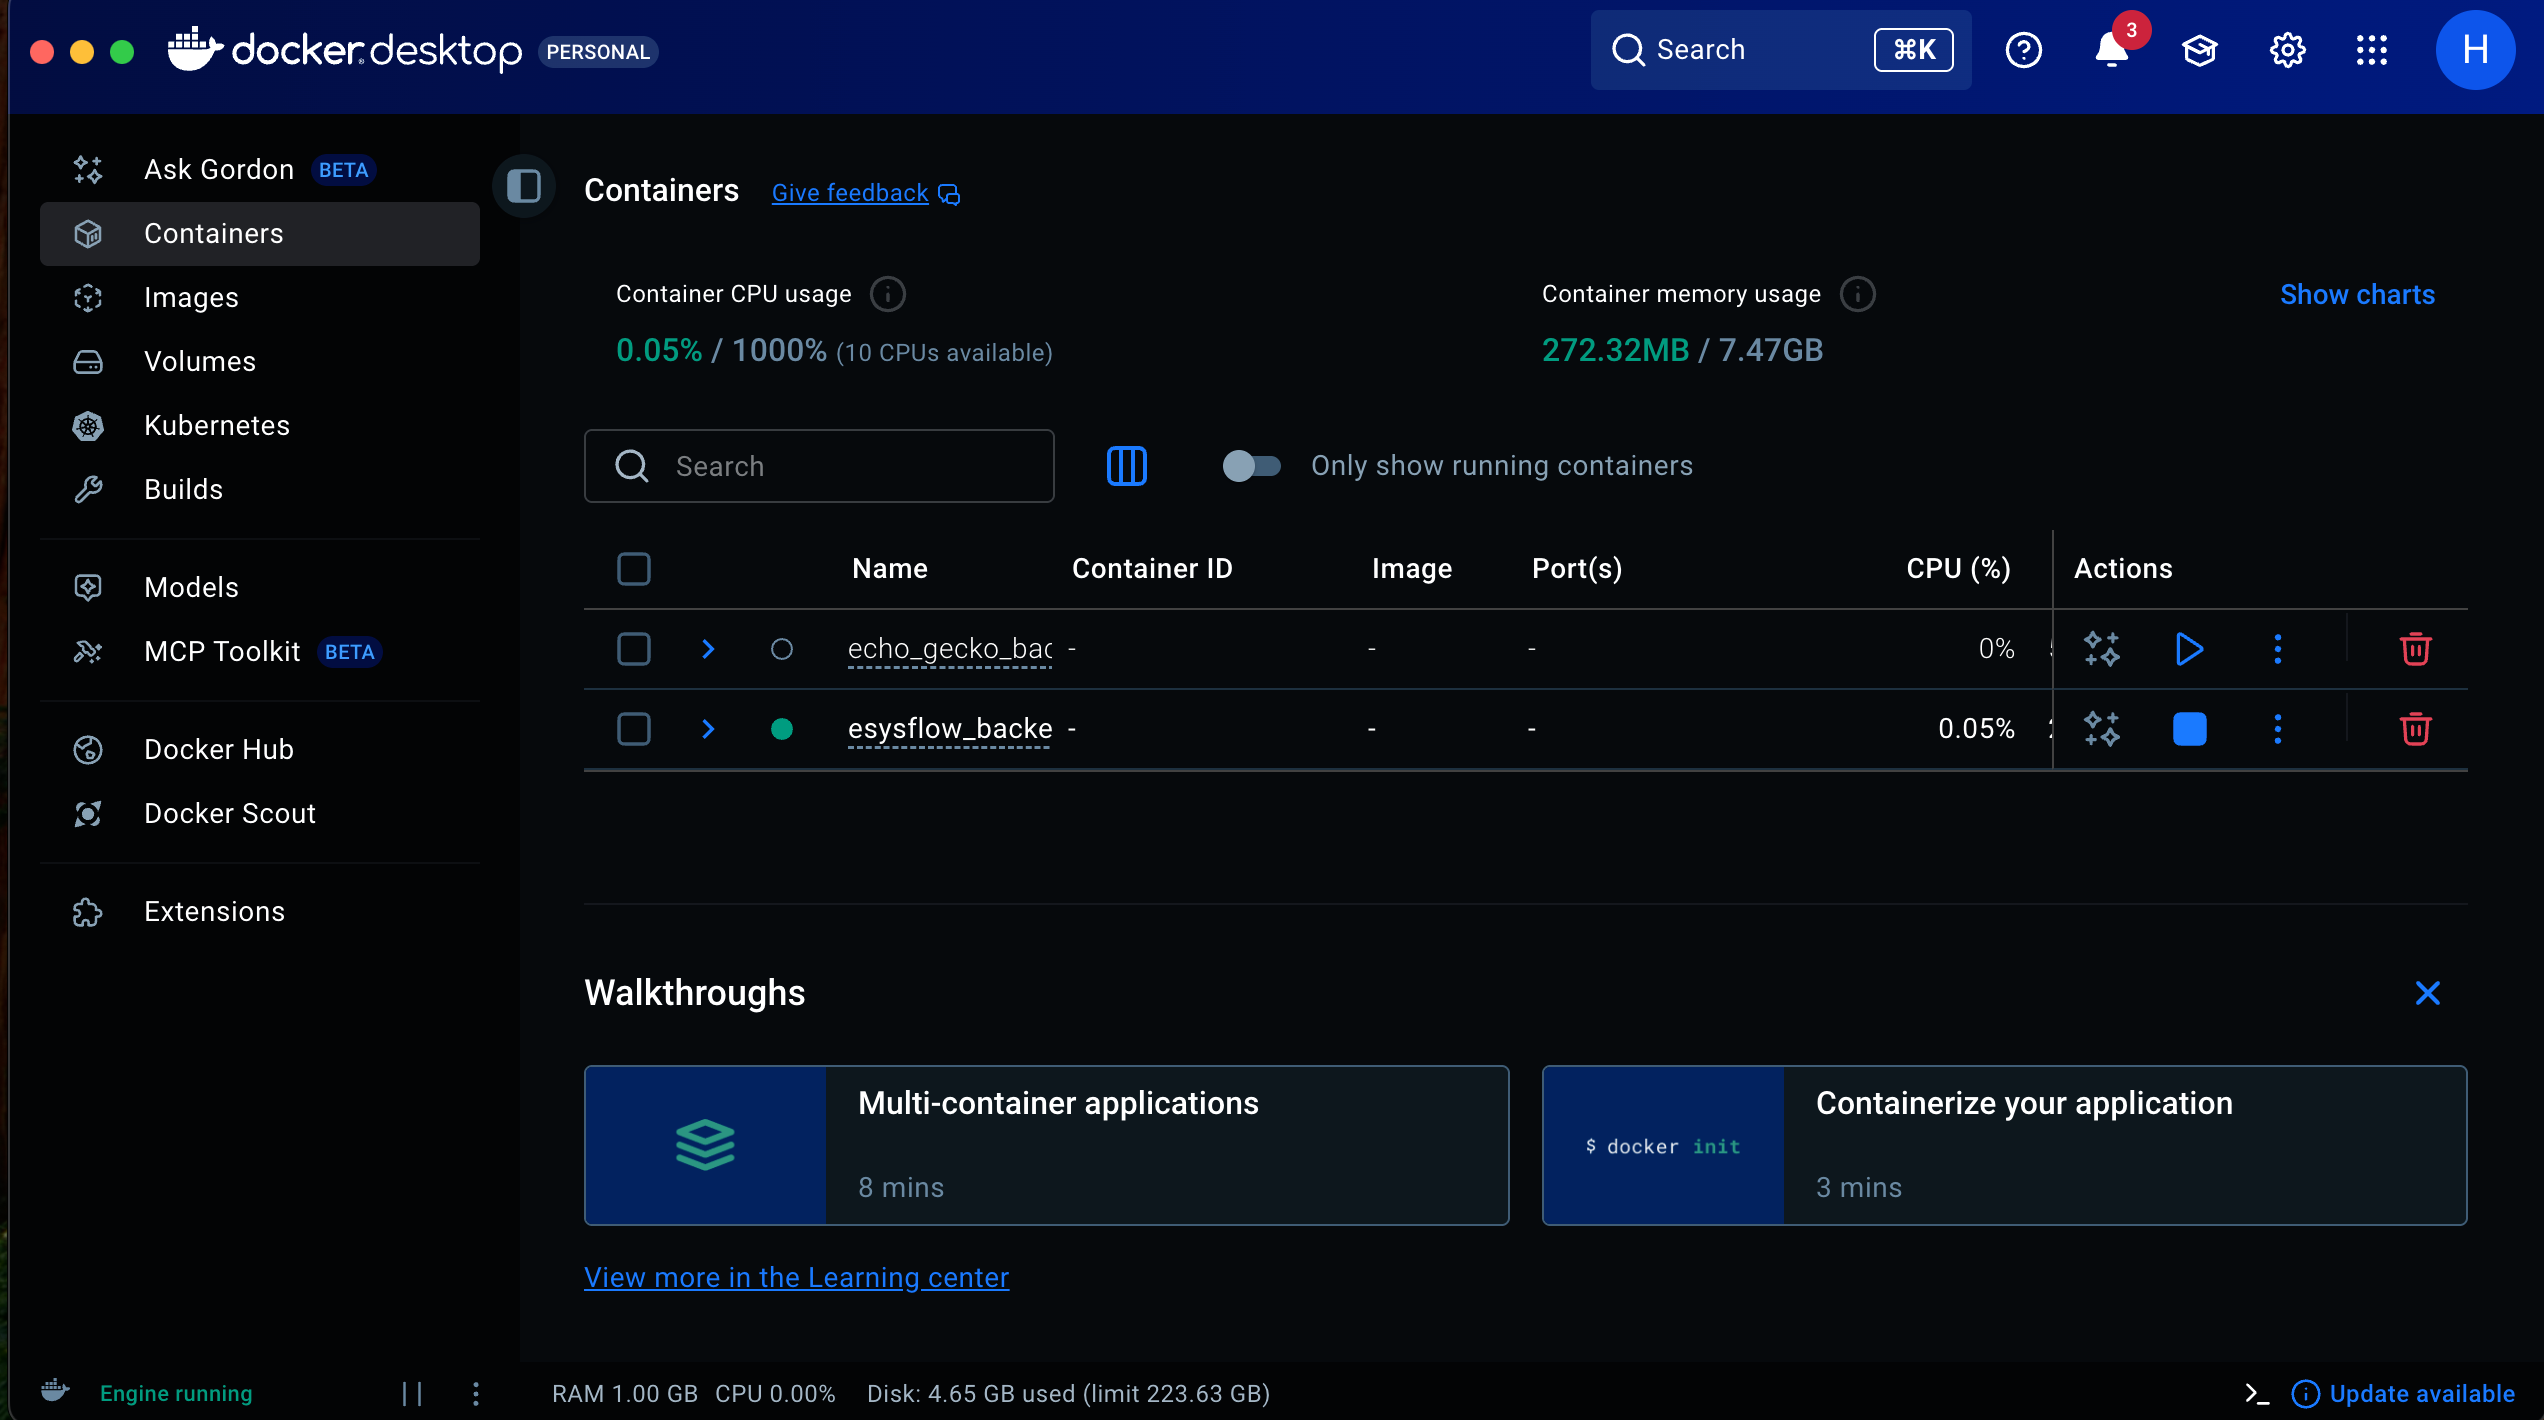
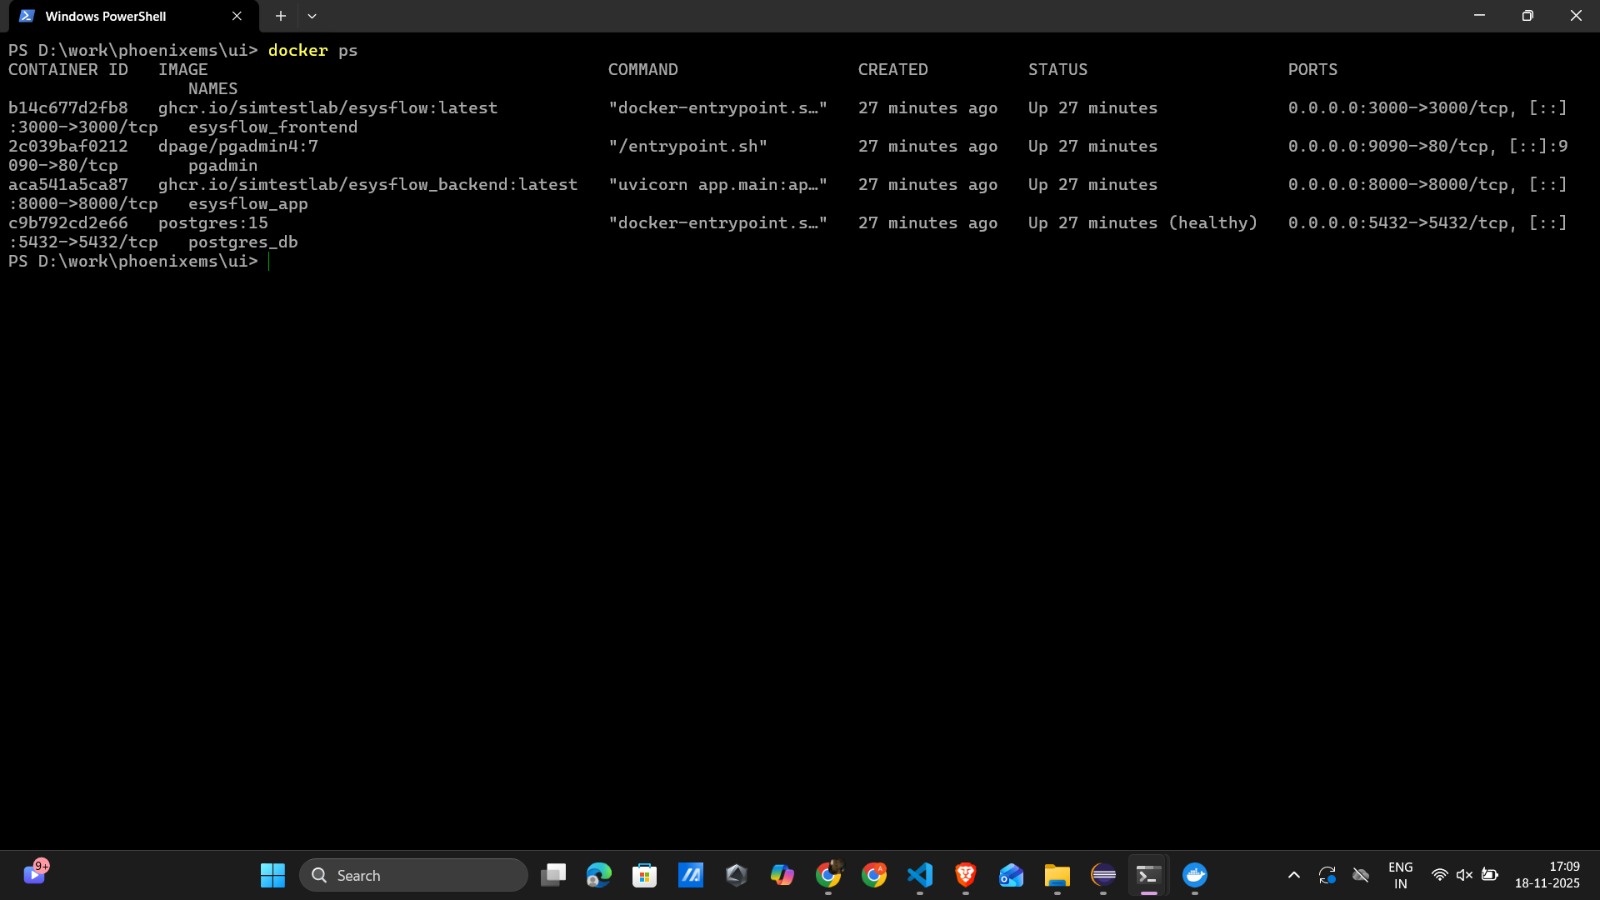
Step 5: Verify all container are running
- Using the following command ensure the all images are running
- You may see the below output will all the containers are running in seperate ports.
- Navigate to the following link to see the working application, link: http://localhost:3000